What Is Power Automate
We use Power Automate for requesting approval on actions that need to be kept track of. Ex. Issuing Xenter emails, issuing Xenter laptops, and website changes. These steps will walk you through how to create an approval request. Creating an approval request is required for making any of these changes to keep track of them.
Table of Contents
Create An Approval Request
First you need to open
xentermd.sharepoint.com/sites/itThis will take you to the IT page for SharePoint. From here on the left hand screen there are a series of pages to click on. For this example we will go toWebsite Changes Approval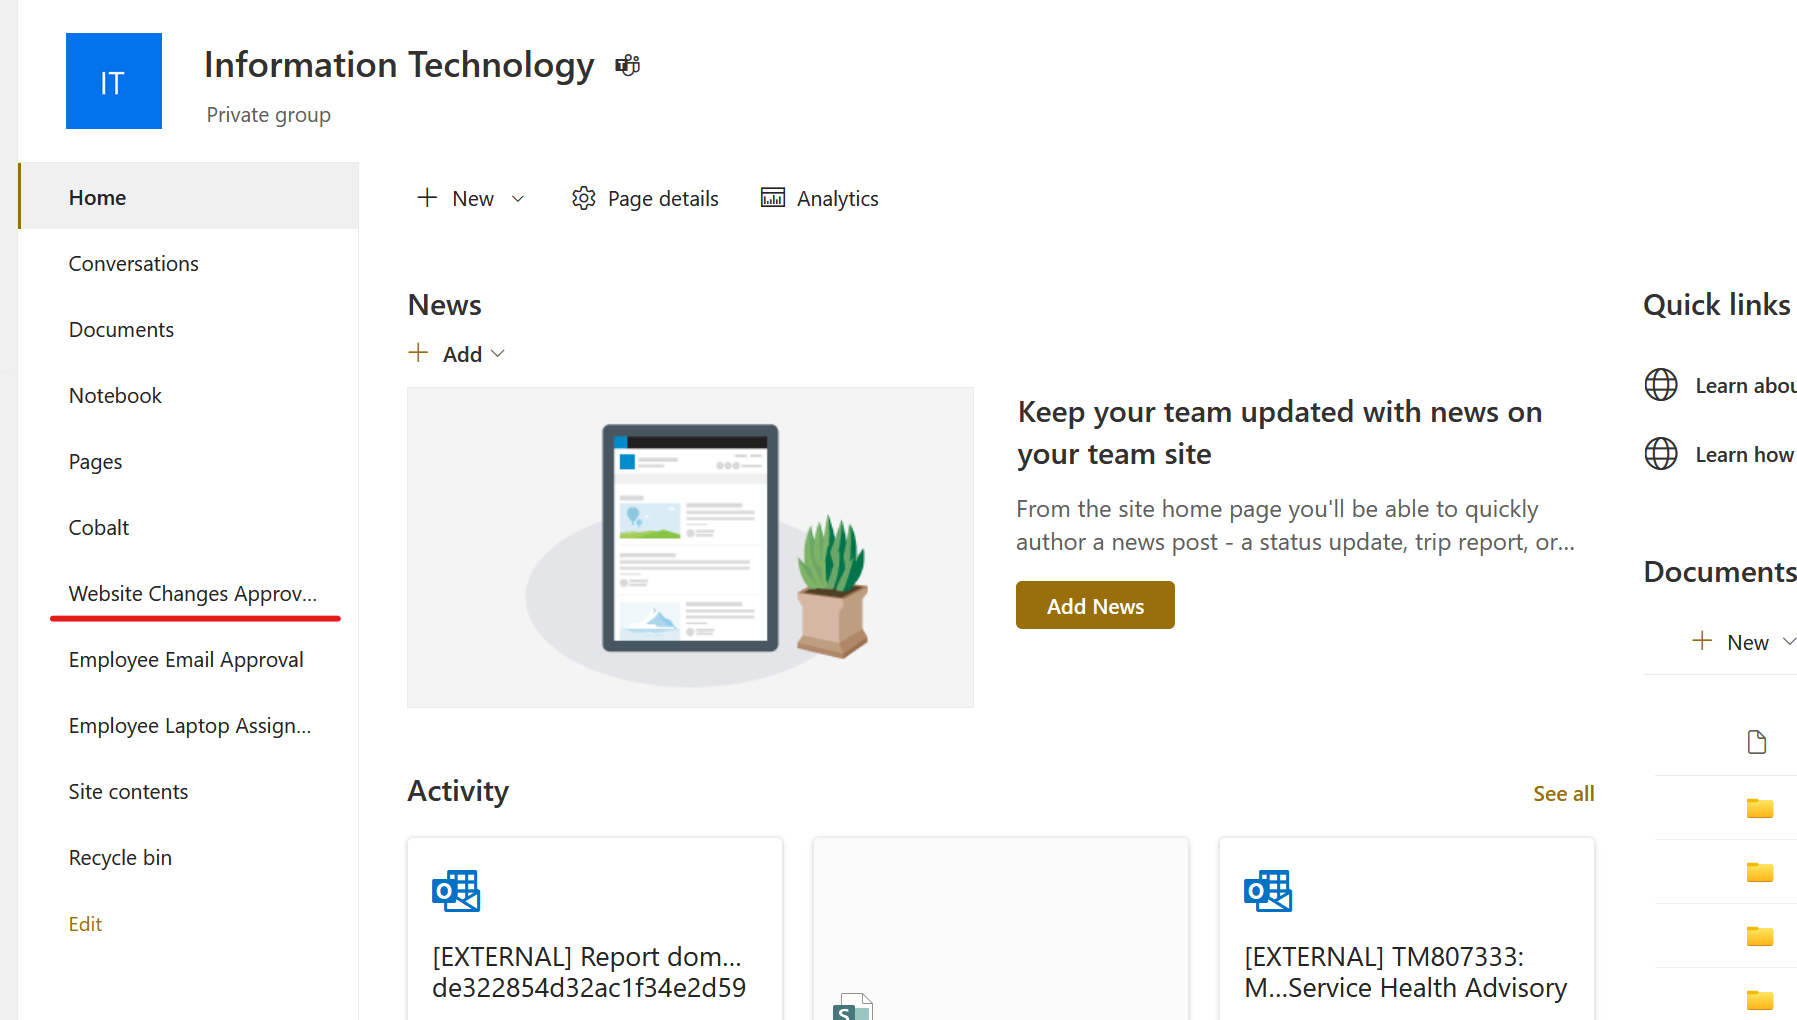
find list Once we have opened the list that we want to create an approval for, we will then click the
Add new itembutton.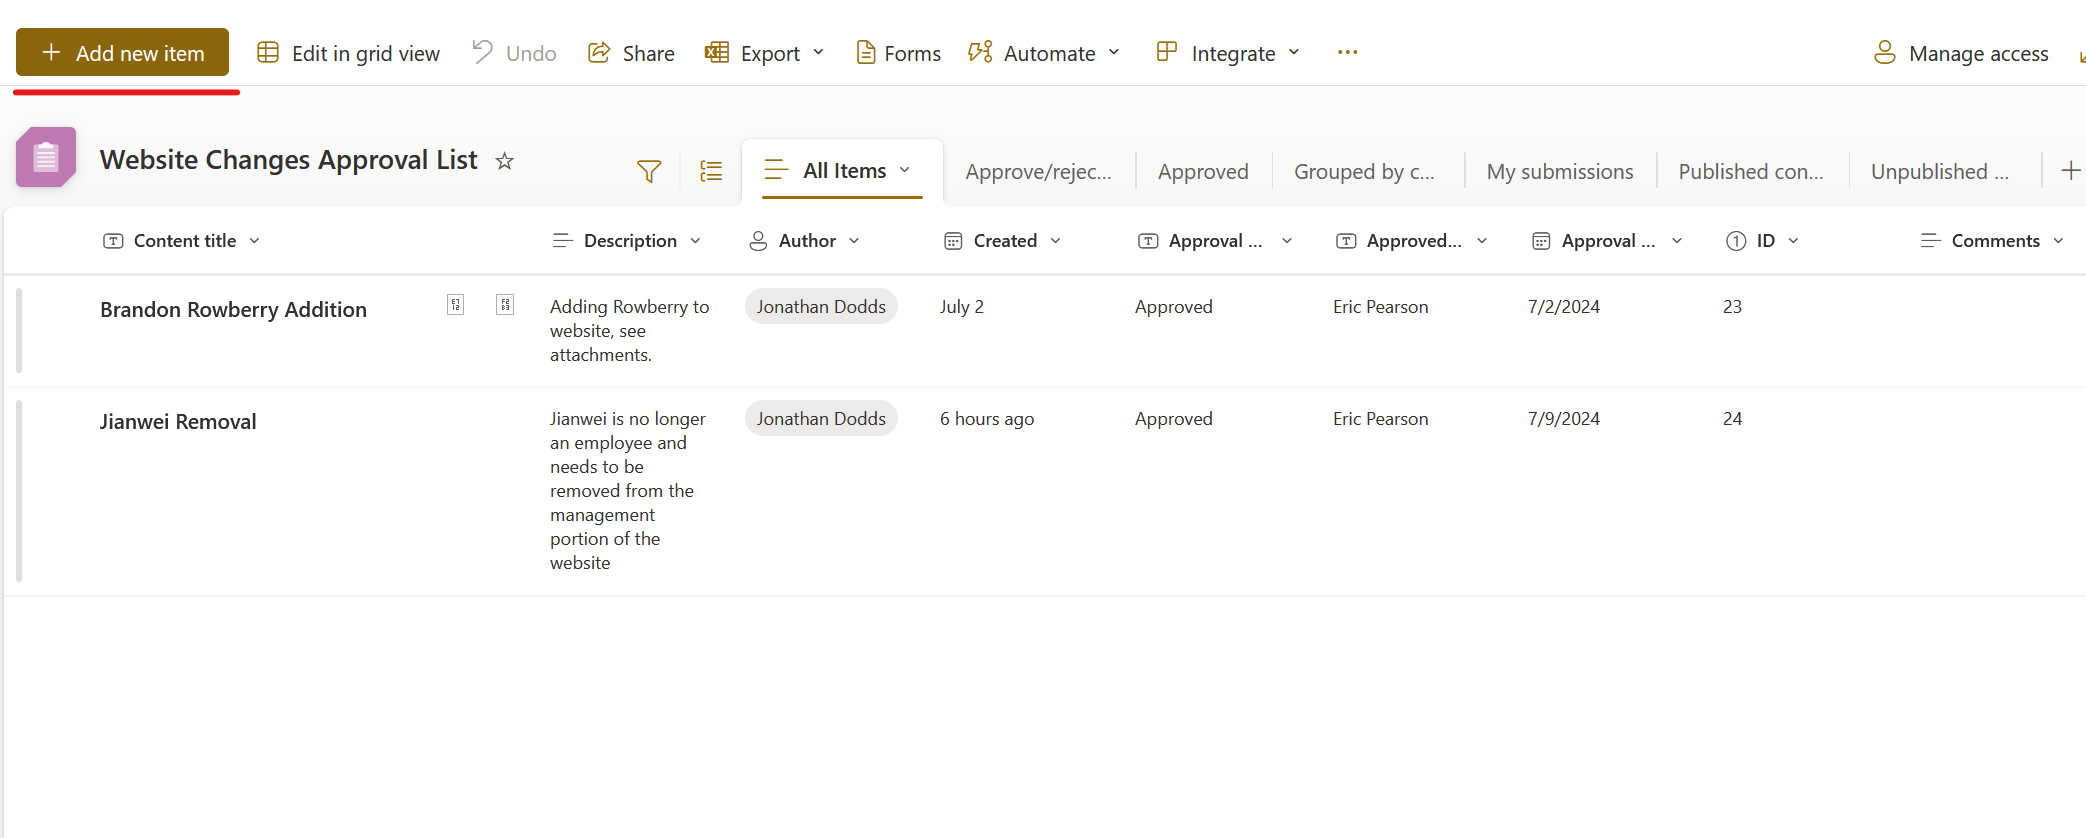
make new item You will be prompted with quite a few of options. You only need to fill out the
Content TitleandDescription. You can also add in files and images to be reviewed. Filling these out will give extra context for the approver when they view the list for approval. Then click save and it will automatically be picked up by the Power Automate flow to send to the appropriate approver. They will be notified by email and teams.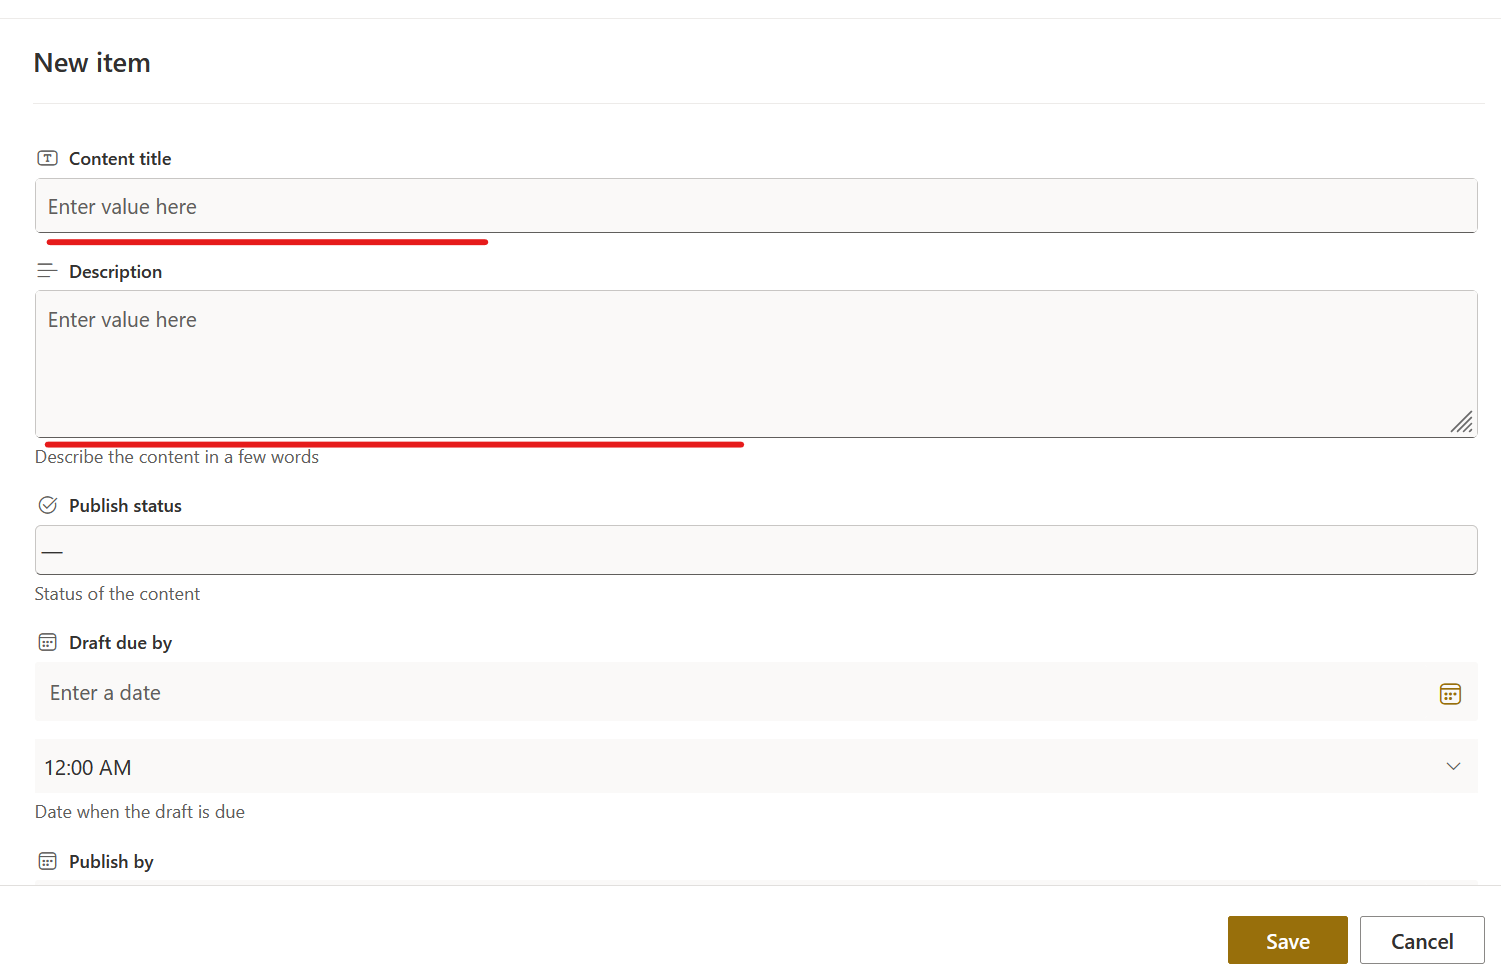
FILLOUT IMAGE
Checking for Approval
The
Website Change Approvallist only verifies with a single approver. TheEmployee Email ApporvalandEmployee Laptop Assignmentlists both require two approvals. For approval responses, you will receive and email based on whether or not the request wasApprovedorRejectedYou will recieve a Teams message in your activity page stating
Final Status: Approved. This also shows the list of approvers. If multiple people are approving this message will pop up when the first approver verifies it.View the list in SharePoint. You can check SharePoint. If the item has not been approved yet it will saying
Pending. These are the easiest ways to tell if your item has been approved.