Deploy Wallpapers & Lockscreens Via Intune
This is a guide for how to set up and then deploy a wallpaper. This guide is based off of a guide made by scloud. They also made the github repository and powershell scripts for deployment.
Table of Contents
- Github Repository
- Customize Wallpaper and Lockscreen
- Deploy Wallpaper via Intune
- Updating Wallpaper via Intune
Github Repository
The repository used is accessible via this link here. https://github.com/FlorianSLZ/scloud/tree/main/Program%20-%20win32/Wallaper%20%26%20Lockscreen Follow the download instructions at the bottom for downloading the Wallaper & Lockscreen.zip
Customize Wallpaper and Lockscreen
After downloading and unzipping the file from the github repository, open it and find the
Datafolder. This is the folder where you will place the .png or .jpg image files you wish the use. Take careful note of the name and file extension type of the image you upload.Now that you have uploaded your images to the
Datafolder, open theinstall.ps1script. This is a powershell script that will install the wallpaper once it is deployed to the computers. On lines 6 & 7, find wall paper image and lock screen image. Update the string to match exact name and file extension from the data folder. Save changes and close.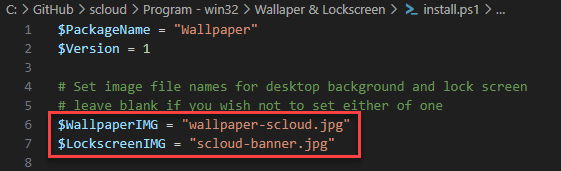
install Open
IntuneWinAppUtil.exeakaMicrosoft Win32 Content Prep Tool. Run this program as an administrator to ensure it has write permissions to create the intune package.List the source folder as the folder that contains all powershell scripts and data folder. The setup file is
install.ps1. Doesn’t matter specifically what your output folder is, however for simplicity sake I leave the output folder as the same as the input folder.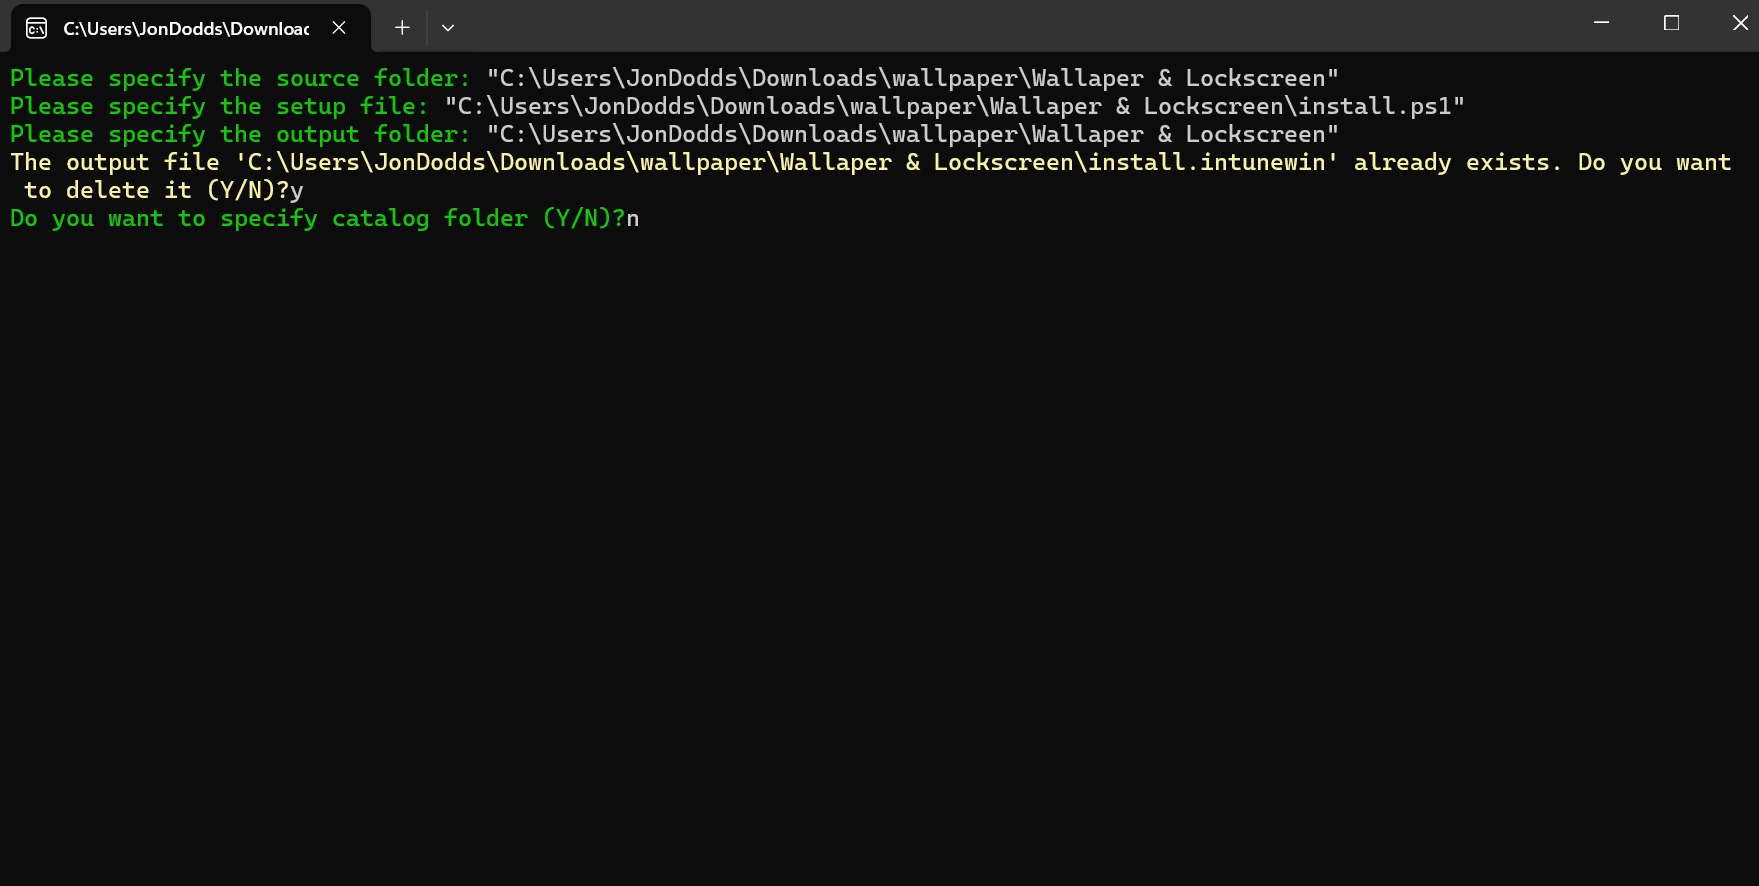
contentprep
Deploy Wallpaper Via Intune
Now that you created an intunewin package, open intunes endpoint manager -> apps -> windows. If you have to create a screensaver app from scratch, select
Addand selectionWindows app (Win32). Select the Intunewin that you made from the content prep tool. You only need to change settings specifically mentioned in this guide.Add the publisher as
scloud, You don’t need an image as this is not an actual app but a coalition of complex powershell scripts.In Program, add the Install and Uninstall commands you find in the Intune.md file at the bottom. Under Requirements, select 64bit operating system and the newest windows 11 operating system (currently 22H2)
Under detection rules, select
use a custom detection script, Then use thecheck.ps1file that you extracted from the downloaded .zip from earlier.Lastly, select the assigned group for the approriate group at the end.
Updating Wallpaper via Intune
You will most likely be updating the wallpaper most of the time instead of deploying a new one. The process is largely the same though.
Upload your new image into the
DataFolder from before. From here, go back into install.ps1 and update the strings with the new names and file extensions of the new screensavers.This is an important part, in both
install.ps1andcheck.ps1at the very beginning there is aversionnumber. You can find the current versin in the intune app properties. Update the name to add 1 for the new version (if Intune shows versions 3, you update the powershell scripts to version 4.) Make sure you save changes in theRemake a new install.intunewin package using content prep the same way as before.
In the Intune app properties for the screensaver, edit the App information. Upload the new install.intunewin in the
select file to updatesection at the top. Then update theApp Versionto match the powershell scripts.Update detection rules. Upload your new check.ps1 with the updated version number
Verify you have the proper assignments and then save the new changes to your app!