SolidNetwork License Management
This guide is for mangaing SolidWorks (SW) licenses, understanding admin images, and the reactivation process. The process for installing, setting up, and activating the licenses on an end user machines is handled in the file solidworks_upgrade_user.
Table Of Contents
Adding & Managing Licenses
Management
Currently we have a setup that involves 2 network SW Professional licenses and 10 standalone SW Professional licenses. On the license server there is 12 PDM Standard CAD Editor licenses with the 2 network SW professional licenses. Frequent SW users should have a standalone license assigned to them. That should be all you need to assign. Standalone licenses are managed in the sldAdminOptionEditor.exe in the SW installer from SharePoint.
Always update any changes to license assignment needs to be documented. Currently this is stored in Bitwarden. When you are offboarding a user, you MUST deactivate their license before their computer is wiped, see offboarding documentation for steps. If this doesn’t happen the license is still assigned to them and you must contact GoEngineer for them to remotely scrap the license.
Adding Licenses
If you are adding additional licenses they can either be standalone or network. Either way they should be purchased via our vendor GoEngineer. First you must download the SW file from SharePoint.
After downloading the compressed SW file from SharePoint on your local machine. Open the
sldAdminOptionEditor.exe. First selectGlobal Settings, then in top left clickNew Machinewith a computer symbol.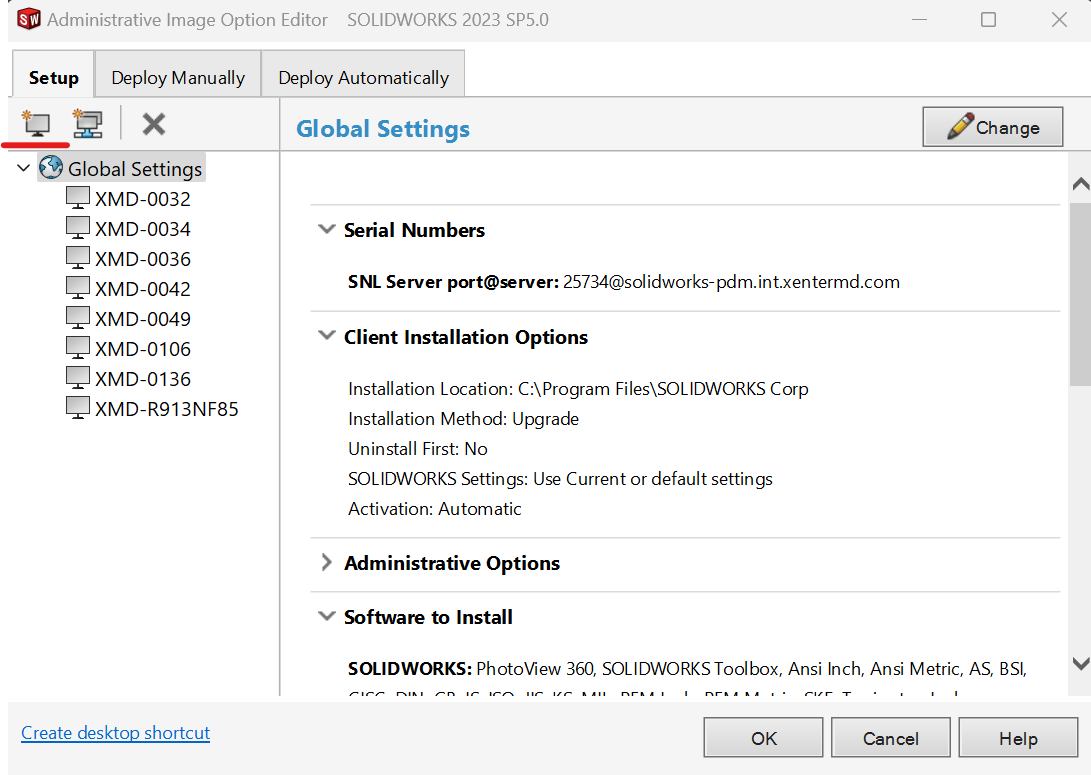
addmachine Add the machine by the
Machine Name. This name can be found via intune -> devices. InNotesadd the users full name. Afterwards go to the new machine you created and selectChange.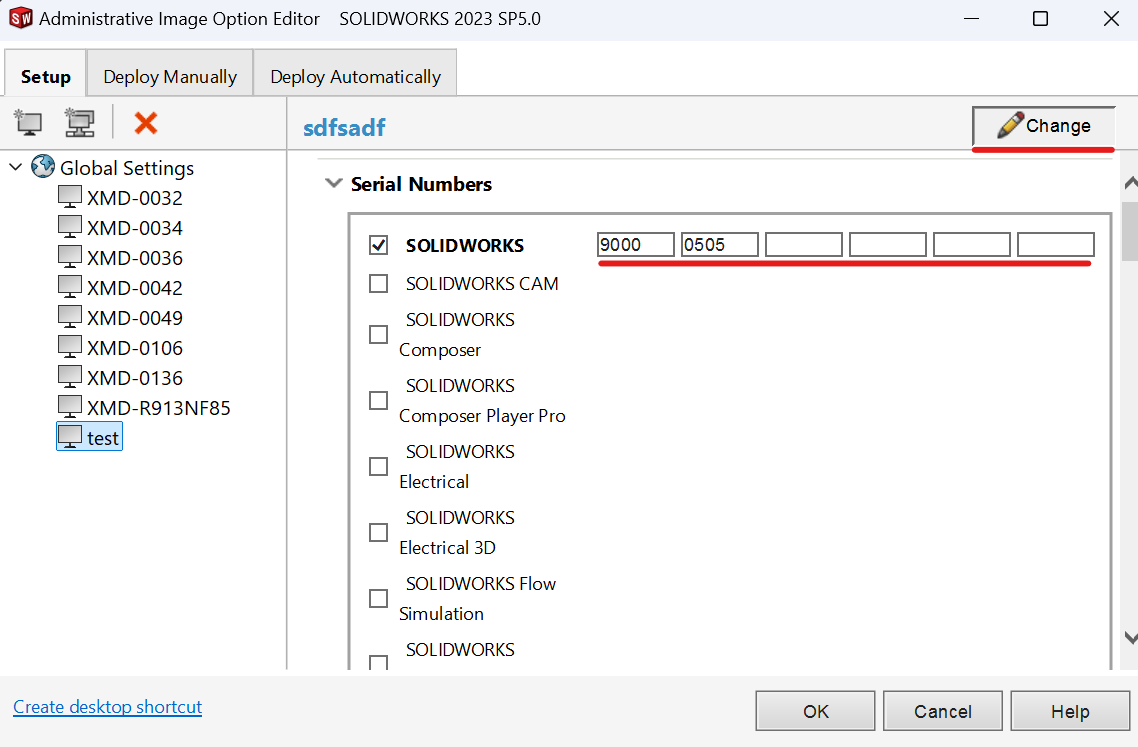
add-license Input the license number information for the standalone SW professional license and press
Ok.Lastly, confirm that your changes saved and then recompress folder to prepare it to be reuploaded to SharePoint.
License Reactivation Process
Once a year users will recieve a message stating that their SW licenses will expire. This is normal and to be expected.
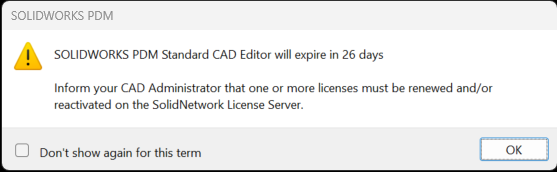
To resolve this error you need to contact GoEngineer support and request to go through the process for a new Activation Exemption Form. They will submit a form and tell you what to fill out. Provide the previous license file to ensure all licenses are accounted for on the activation exemption form. You can find it either in the SW server on the desktop or in the IT SharePoint Folder under Documents -> General -> SolidWorks -> Activation Exemeption Forms.
Please store copies of the completed Activation Exemption form and License file in the IT Sharepoint folder mentioned above to be referenced again.
For exchanging the license file, remote connect to the SW server. Open the SolidNetwork License Manager. You will need to stop the server, then modify license information and tell it to read the new file.