Onboarding User Guide
In this guide, we will walk you through the steps to set up your Xenter email account with Microsoft.
Table of Contents
- Creating your Microsoft Work Account
- Setting Up Your Zoom Work Account
- Setting up Xenter Email on Mobile
Creating your Microsoft Work Account
A member of IT will send you an email with your new username and a temporary password.
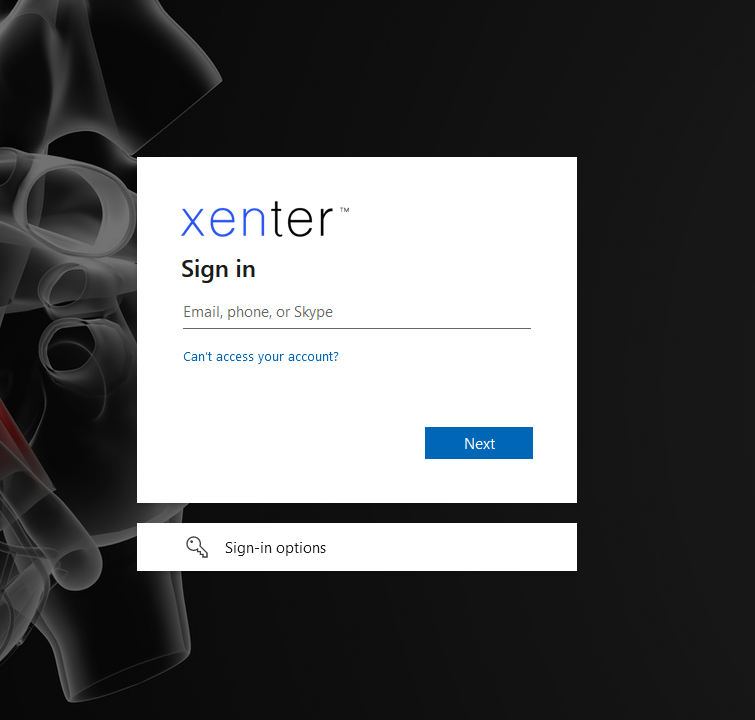
In your favorite web browser, go to portal.office.com and sign in using the new username/password combination.
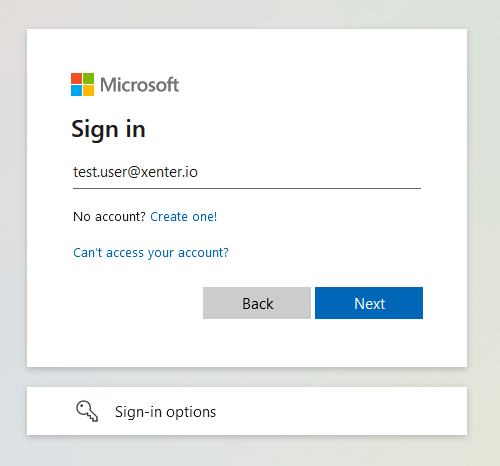
microsoft-signin-unbranded You will be prompted to update your password. Passwords must be a minimum of 10 long and have a number, upper case letter, and lower case letter.
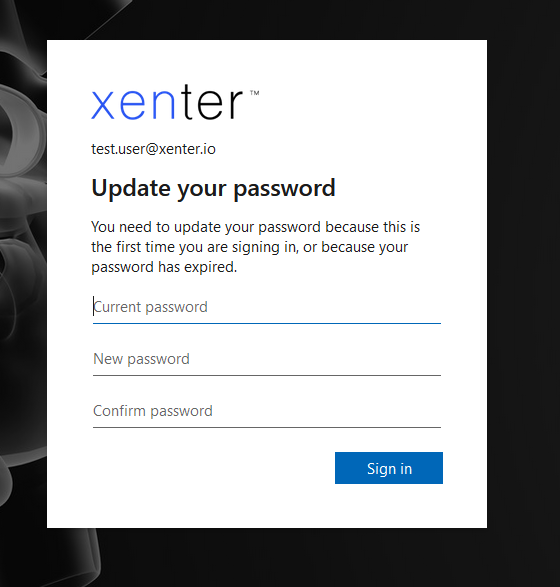
ms-update-password After updating the password, it will show a More information required message. Click Next.
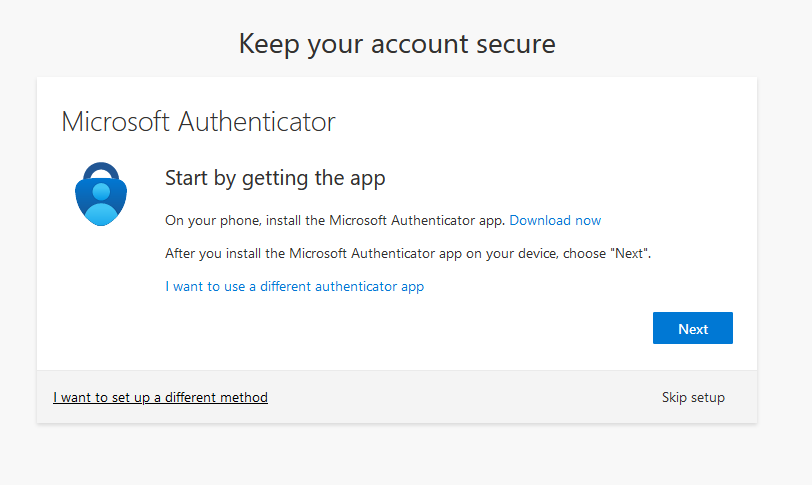
Download and install the Microsoft Authenticator app on your phone.
On the next screen it will ask you to setup Microsoft Authenticator for managing multifactor authentication. Click Next until you see a QR code.
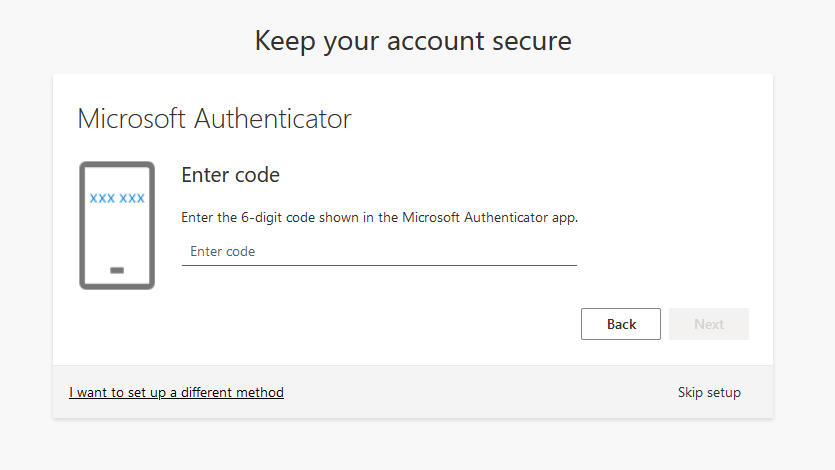
microsoft-authenticator Open the Microsoft Authenticator app and click the + sign to add a new account. Select Other account. Scan the QR code that is displayed on your screen and then click Next.
The Microsoft Authenticator app will now have an entry for your work email address with a 6 digit code that changes every 30 seconds. You will need to use one of those codes on the page to confirm the QR code was properly scanned.
microsoft-authenticator-confirm Congratulations! You have just set up your new work account! You can access your new email using your favorite email app such as Outlook, Thunderbird, Apple Mail, etc. Dont forget to set up your Xenter branded email signature!
Setting up Outlook (New)
Open the Outlook (New) app on your computer.
Enter your Xenter email and click continue.
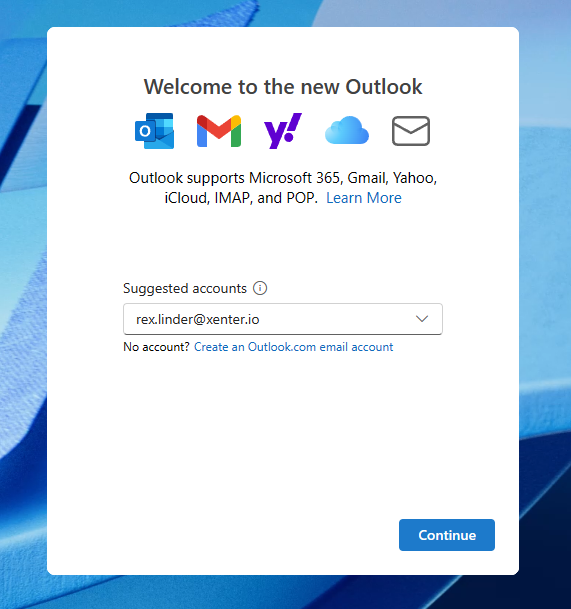
outlook-new-login Outlook will most likely be able to log you in automatically. However, there are a few scenarios where its not automatic and you need to sign in using your email and password.
Follow the instructions below to set up the email signature.
Setting up Outlook (Old)
These steps only apply if you are still using the Old Outlook app.
Open the Outlook (Old) app on your computer.
Enter your Xenter email and click connect.
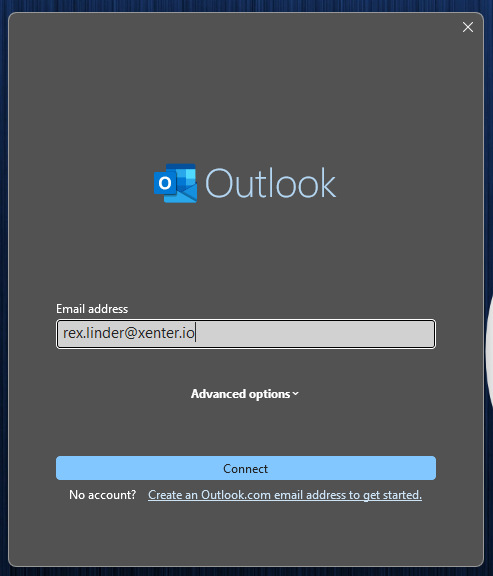
outlook-old-login Outlook will most likely be able to log you in automatically. However, there are a few scenarios where its not automatic and you need to sign in using your email and password.
When you see the message “Account successfully added”, click done.
Follow the instructions below to set up the email signature.
Setting Up the Branded Xenter Email Signature in Outlook (New)
You should have received an word file with the email signature template. Contact IT if you did not receive this document during the onboarding process.
Open Outlook (New) and click on the gear icon in the top right corner to access settings.
Go to Accounts > Signatures > New Signature.
Give the signature the name Xenter and then copy and paste the template into the signature box. Update the name, job title, and phone number accordingly.

xenter-email-signature Scroll down to the bottom and before saving, set the default signature for new messages and replies to Xenter.
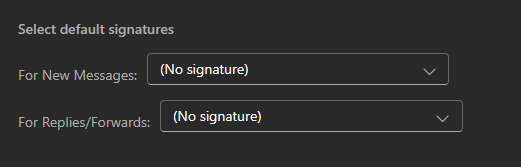
select-default-signatures Click save to apply the settings.
Setting Up the Branded Xenter Email Signature in Outlook (Old)
You should have received an word file with the email signature template. Contact IT if you did not receive this document during the onboarding process.
Open Outlook (Old) and click on the gear icon in the top right corner to access settings.
Go to Accounts > Signatures > New Signature.
Give the signature the name Xenter and then copy and paste the template into the signature box. Update the name, job title, and phone number accordingly.
xenter-email-signature Scroll down to the bottom and before saving, set the default signature for new messages and replies to Xenter.
select-default-signatures Click save to apply the settings.
Setting Up the Branded Xenter Email Signature on Mobile
Open the signature document that the IT team emailed you. Copy the signature and open your mail app of choice. It may be easiest to paste the signature into a word document on your phone and edit it first.
Outlook
Go into the Outlook settings by click the home button in the top left, then the settings gear icon in the bottom left.
Open Signature, select
Per Account Signaturethen under your Xenter Email paste the signature from the email template into the box. Edit the signature to update name, title, etc. Save the signature.
Apple Mail
Open your iPhone settings, then search for your
Mailapp. Scroll down and findSignature.Select
Per Account, then find your Xenter emai signature. Edit the box and paste your signature into the box. Changes will automatically save.The formatting may be more tricky with the Apple Mail signature.
Setting Up Your Zoom Work Account
Currently, only a select few users are granted a licensed Zoom account. Everyone by default is provided a free Zoom account which lets you host meetings up to 45 minutes. You can open a helpdesk ticket to request a license or talk to someone from the IT team.
Single Sign On (SSO) Zoom Users
All licensed users have access to a streamlined login experience using their Microsoft email credentials (aka the same username and password for your work email).
To login, go to the Xenter Zoom Portal: https://xenter-io.zoom.us and click sign-in.
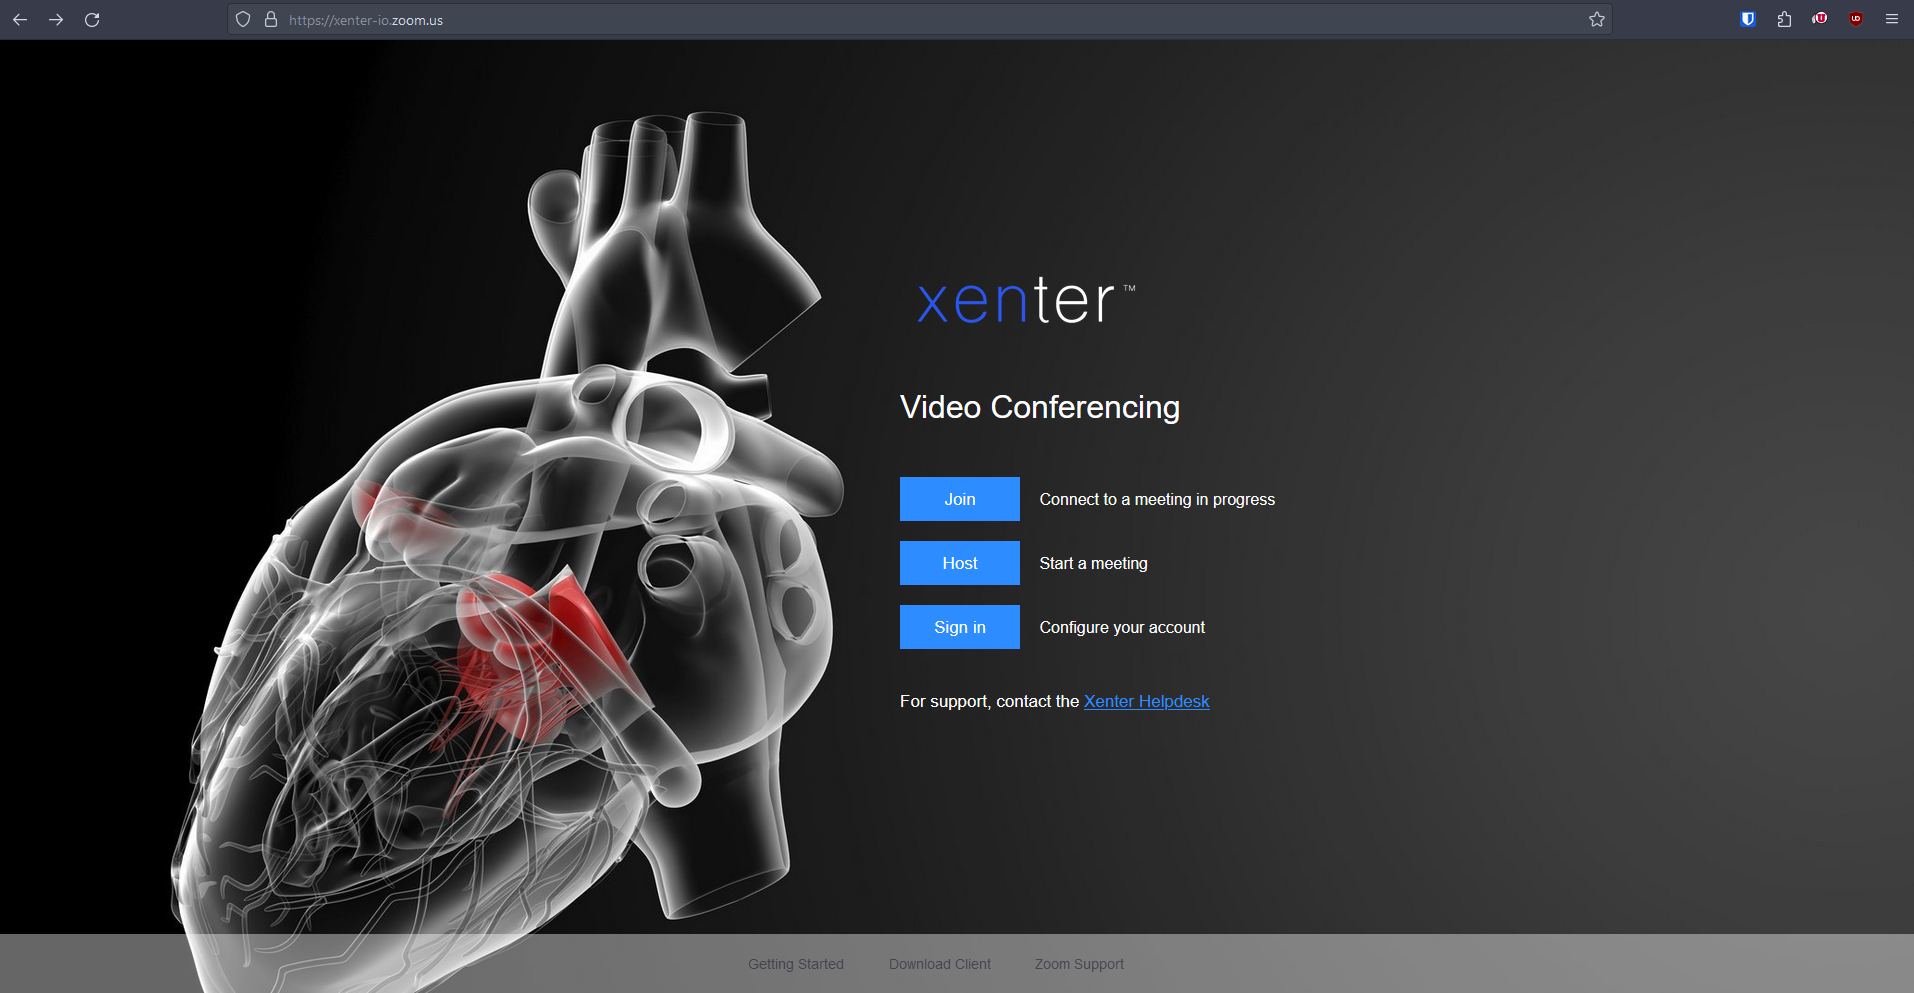
zoom-xenter-landing-page You will be redirected to the Microsoft login page where you can sign in using your work email and password.
microsoft-signing-branded After signing in using your work Microsoft account, it will redirect you to the Zoom account dashboard.
Setting up Xenter Email on Mobile
This covers setting up your Xenter email on either the Outlook app or Apple Mail. You need to follow the first section to set up the email and Microsoft Authenticator app before adding the email.
Outlook Mail App
Download the
Outlookapp from your app store if not already downloaded.If you have already downloaded the Outlook account you will need to add a new Outlook account.
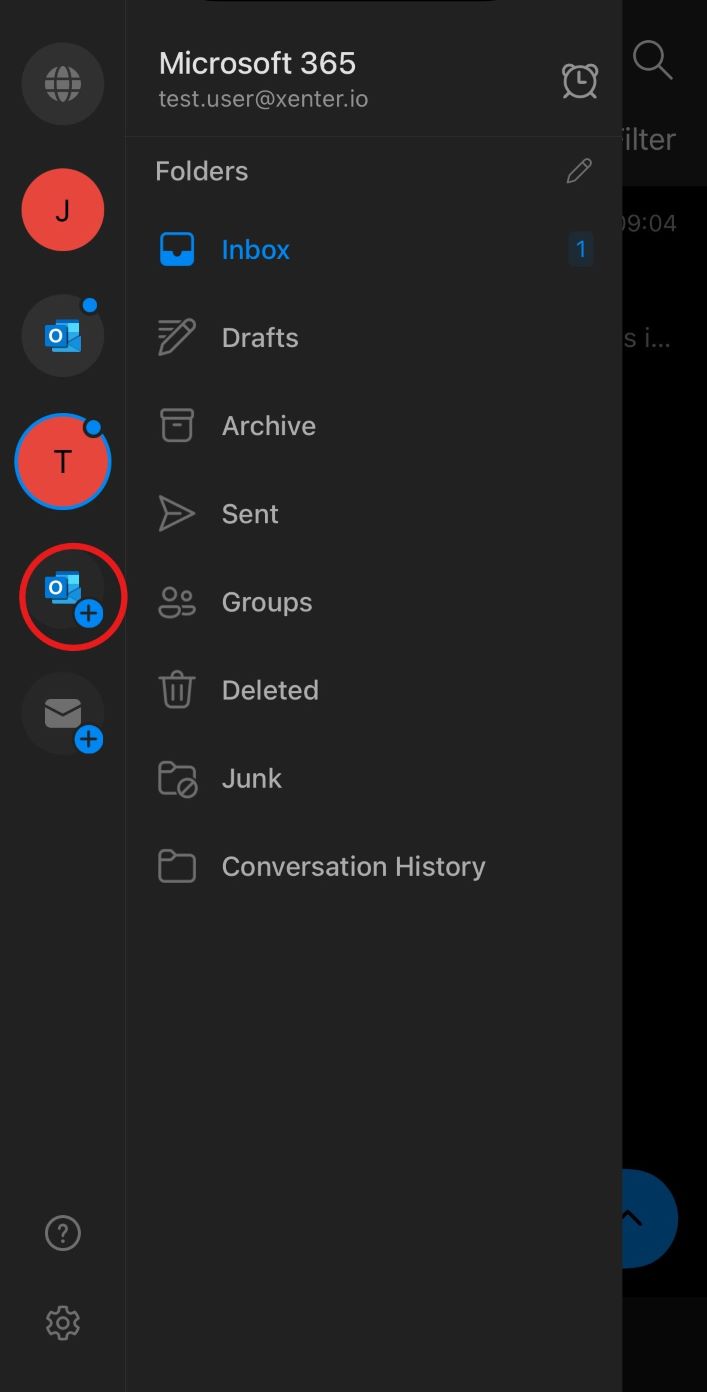
outlook-add-account Enter your email username and click add account.

outlook-sign-in Afterwards, it should redirect you to your Microsoft Authenticator app to complete the sign in. Sign in as normal through the app. Then you should be redirected back into the Outlook app.
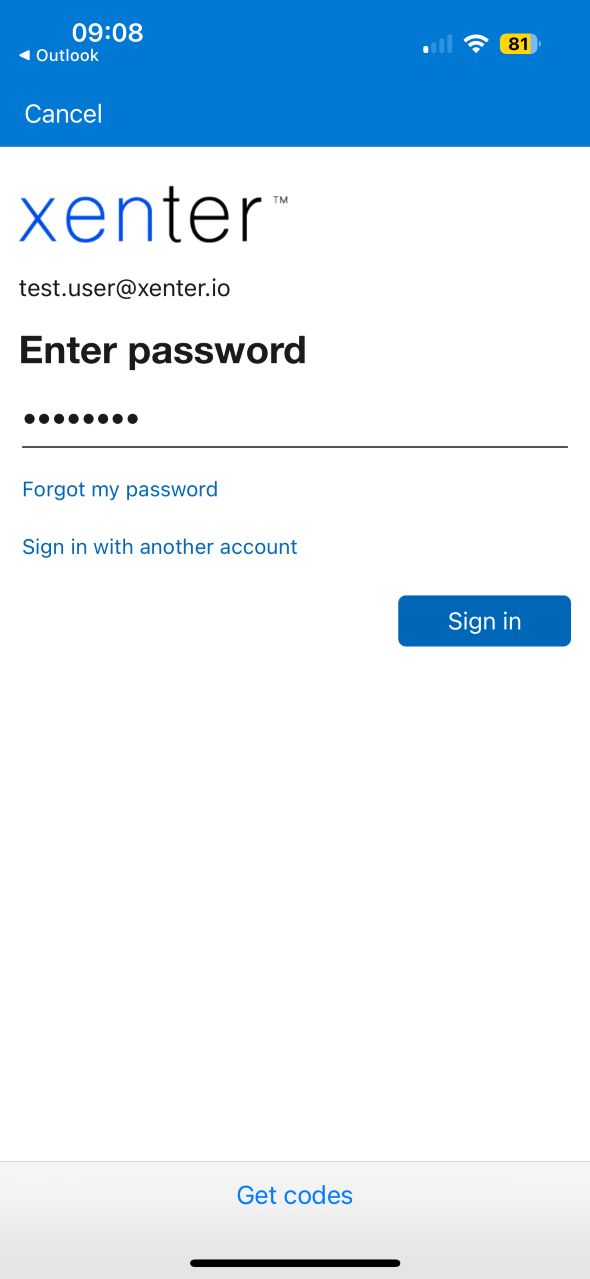
outlook-sign-in-2
Apple Mail App
Open your iPhone’s
Settingsapp. At the top of the app, just above your Apple ID there is a search bar. Search forMail Accounts. ClickAdd Account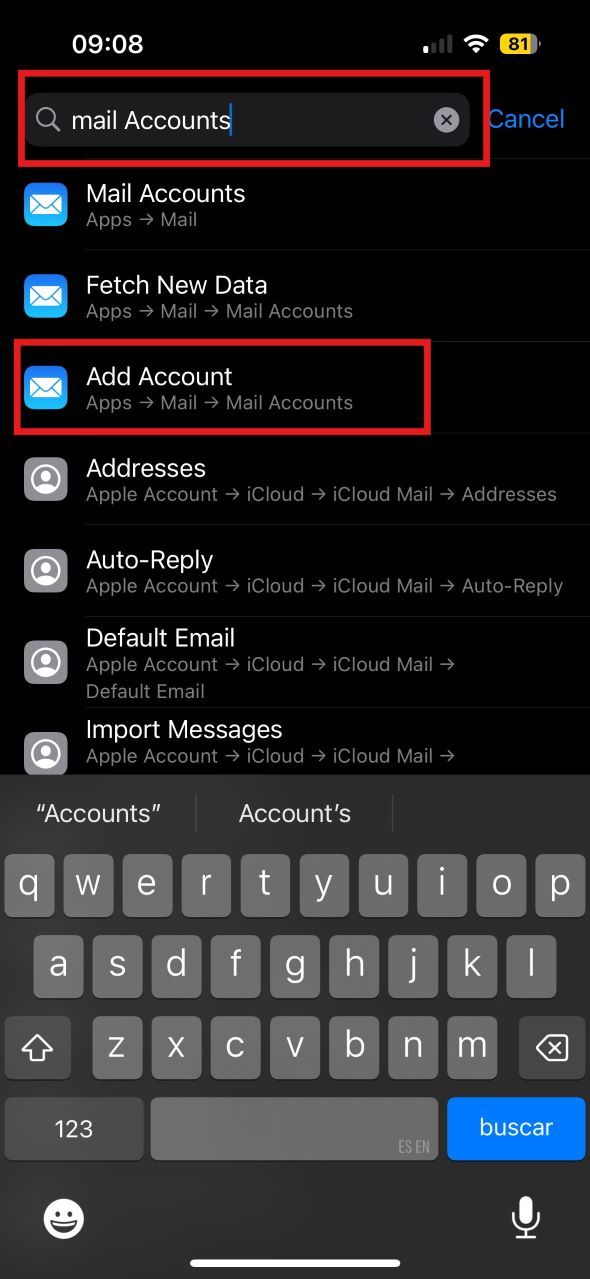
apple-mail-search Select
Microsoft Exchangeas the mail account type.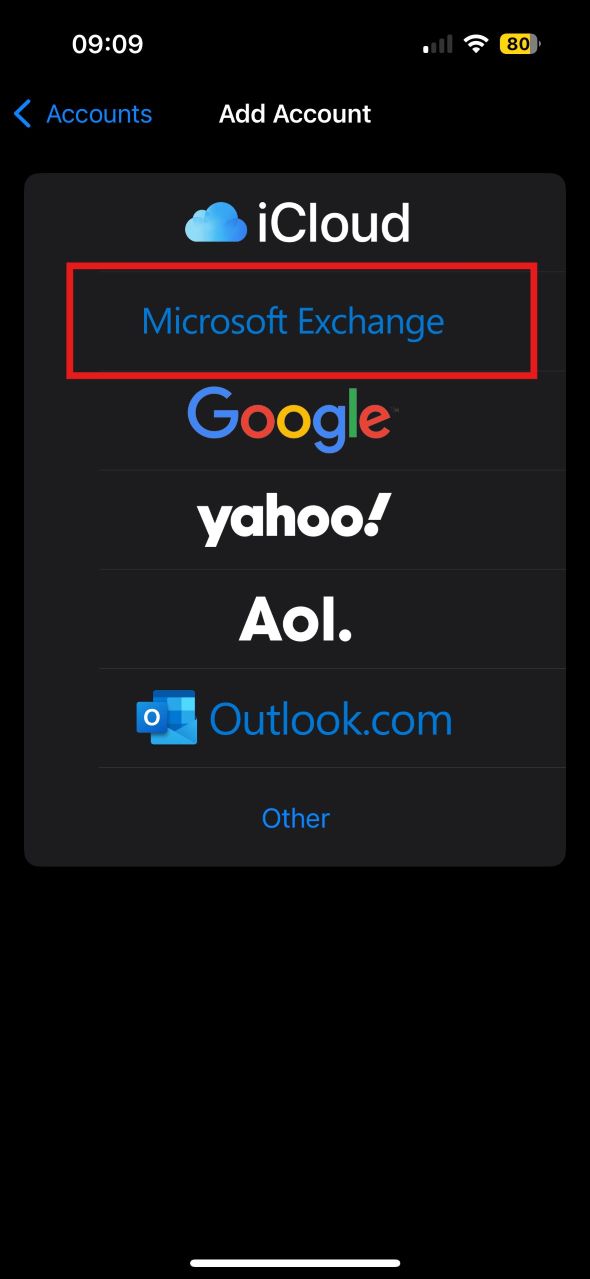
apple-select-mail-type Then enter your Email and a Description. Click
Next, thenSign In.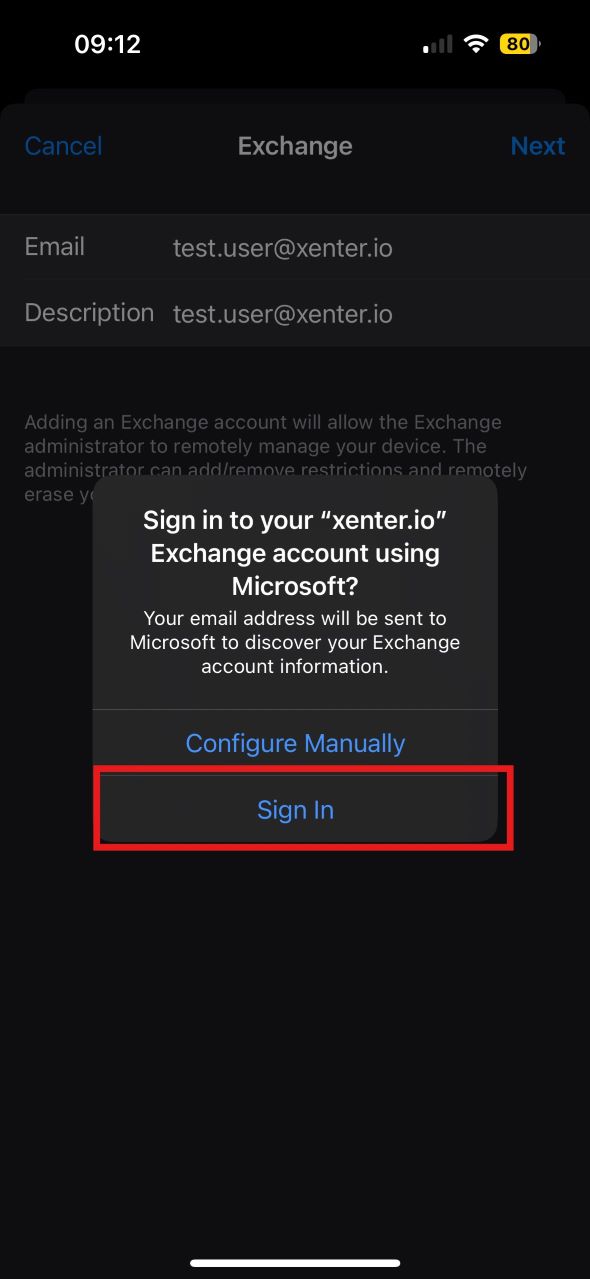
apple-sign-in You will be redirected to a Microsoft page to finish the sign in process. You can then save the account and view it in your Mail app.
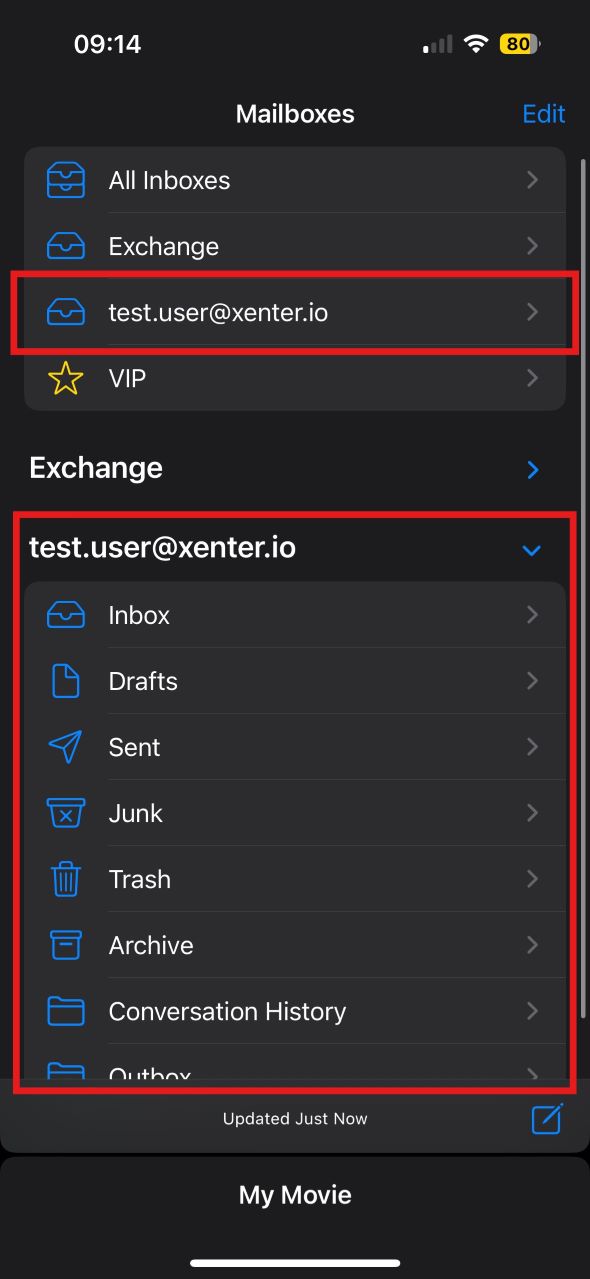
apple-confirm-mail