Xenter Lab Computers
Table of Contents
Deploying a New Lab PC
Using the Xenter customized Windows Pro installer, install windows to the computer like you would for any new user. See custom_win11_iso_azuread_joined for instructions on how to create the custom Windows image. During setup, the following steps must be performed:
Assign the new computer the hostname
lab-{{serialnumber}}. Where{serialnumber}is the computers unique serial id.Turn on remote desktop and disable Network Level Authentication.
Add
lab.user@xenter.ioto the allowed RDP user group.Add-LocalGroupMember -Group "Remote Desktop Users" -Member "AzureAD\lab.user@xenter.io"Ensure that
lab.user@xenter.ioaccount is not admin, it must be a standard user account.Assign the new lab computer a static IP address and internal dns name. While the lab’s computer name in AzureAD is
lab-{{serialnumber}}, the internal dns name is different. The local dns name assigned to the device should be, for example,lab-1.int.xenter.ioand then increment the number for each new computer.Print the local dns name using the label maker and attach sticker to top of lab computer. All lab computers should be accessible using the local dns name sticker on the device.
There is a powershell script that is auto deployed to all computers with a hostname beginning with
lab-. However, the script seems to fail deployment in Intune for an unkown reason. Thus, you may need to manually run the lab-configuration script to have the required dependencies and software tools engineers need installed and configured for use. See thelab-pc-configuration.ps1script in theit_scriptsrepository.
Remote Access to a Lab PC
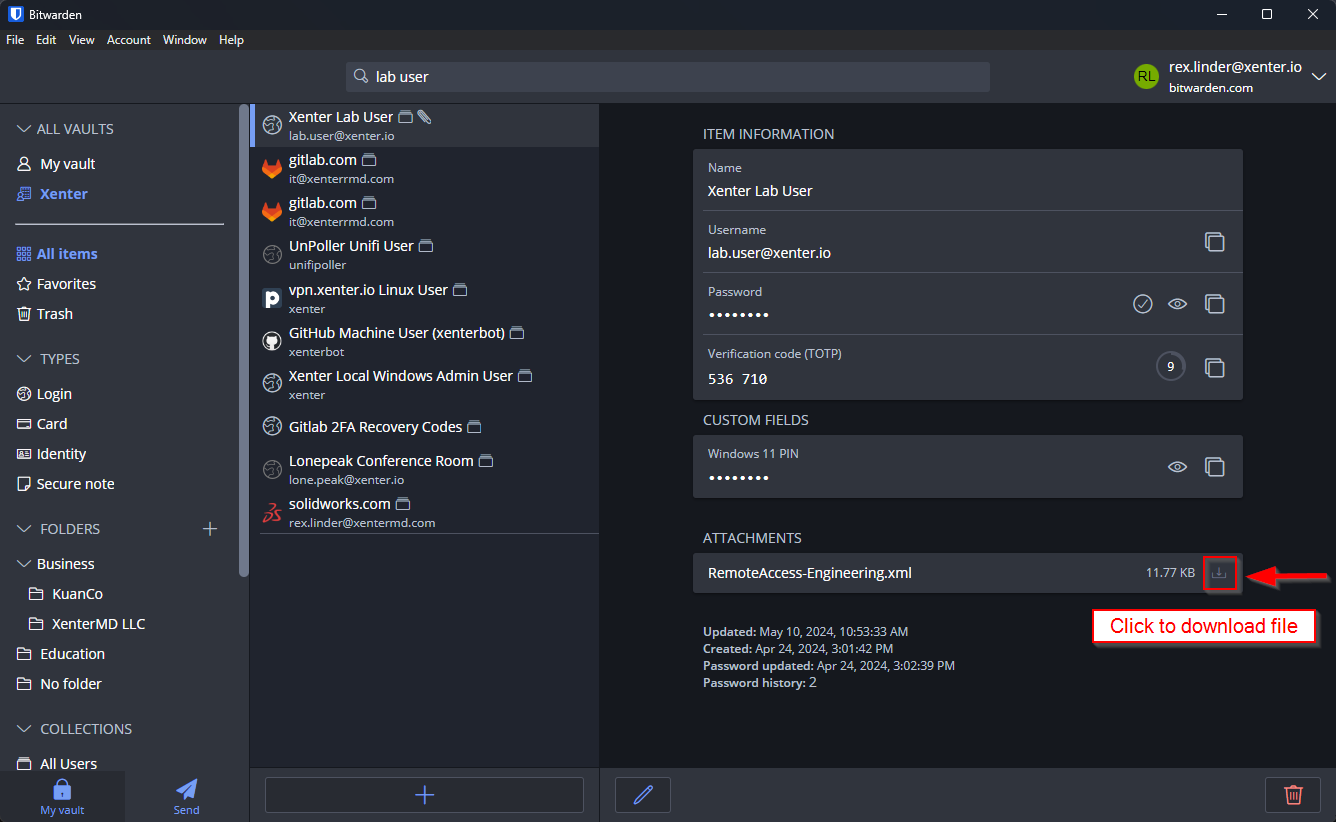
Lab PC’s can be accessed using a shared AzureAD user account: lab.user@xenter.io. The username, password, and 2FA for the user are located in the corporate password manager and shared with all members of the Engineering team. The password manager also has an attachment called RemoteAccess-Engineering.xml. Download that xml file as you will need it later.
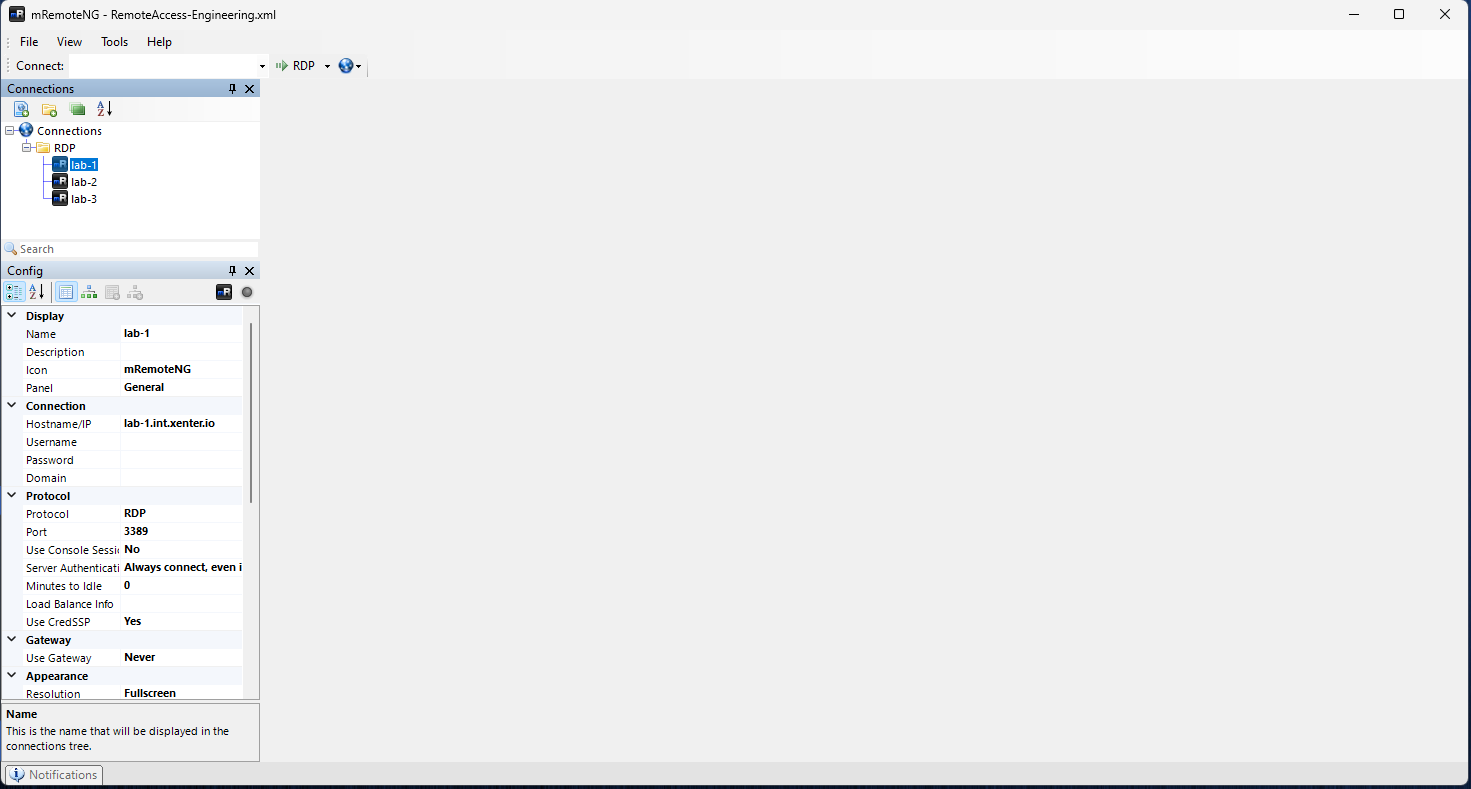
Next open the Company Portal app on your computer and search for mRemoteNG and install it. Once the mRemoteNG app has been installed, open it and go to File > Open Connection File and open the RemoteAccess-Engineering.xml file you downloaded earlier. This file contains the configurations and setup for remotely accessing the lab computers.
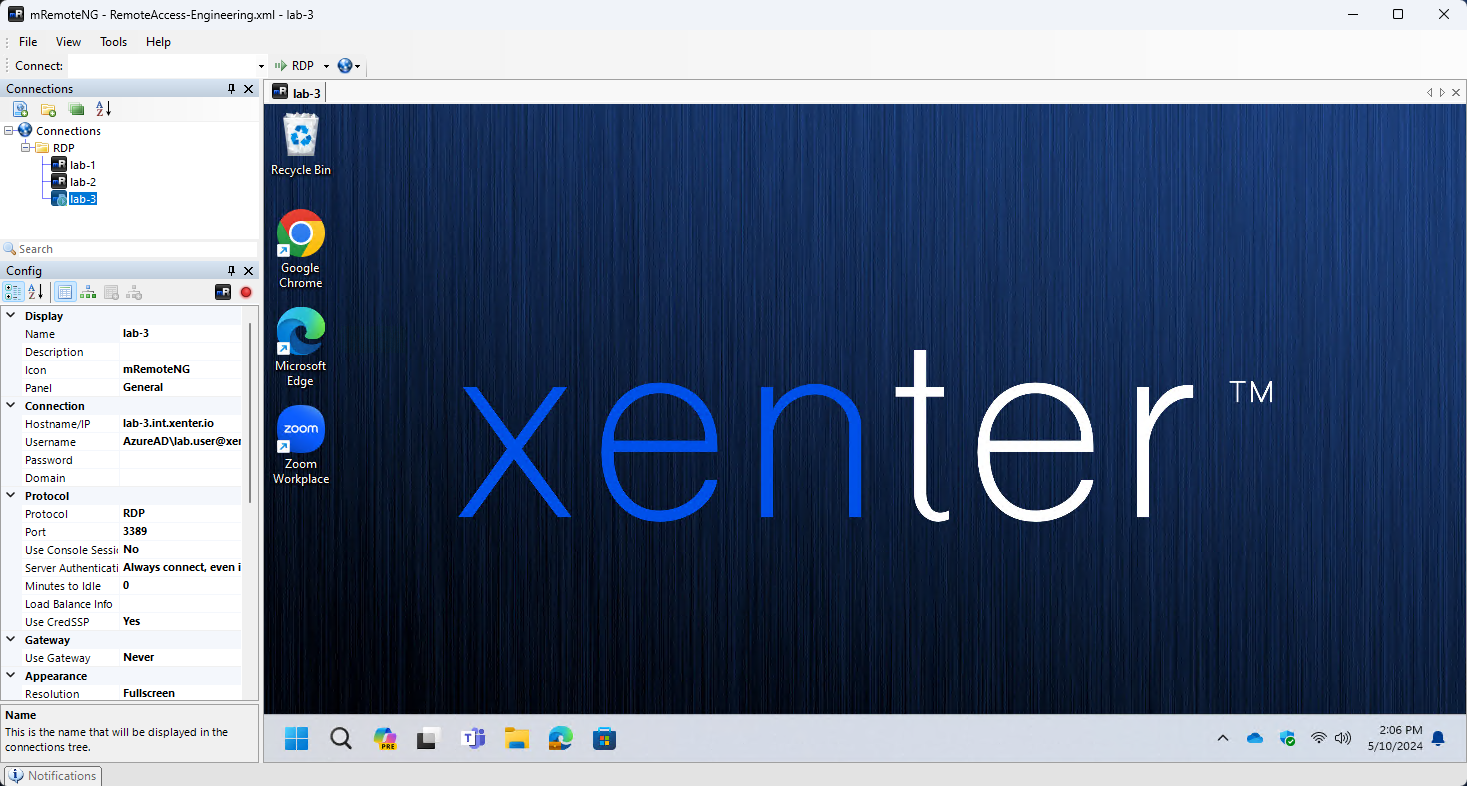
Once you have imported the connections file, you should see a folder under Connections named RDP and inside of that folder is a list of all the remote lab PC’s you can connect to. Double click on the lab computer you want to remote connect to.
You may be prompted to login with a username and password. If so, click on more choices and select different user. Then input the username lab.user@xenter.io and the corresponding password from the password vault to sign in. You must sign in using the lab user account, your personal work accounts will not work.
Collaboration on a Lab PC
IMPORTANT: Only one user can be logged in as lab.user at a time. If you try to connect while someone else is using it, they will be force disconnected so you can join. Its recommended to communicate as a team to ensure you arent kicking someone else off thats using it.
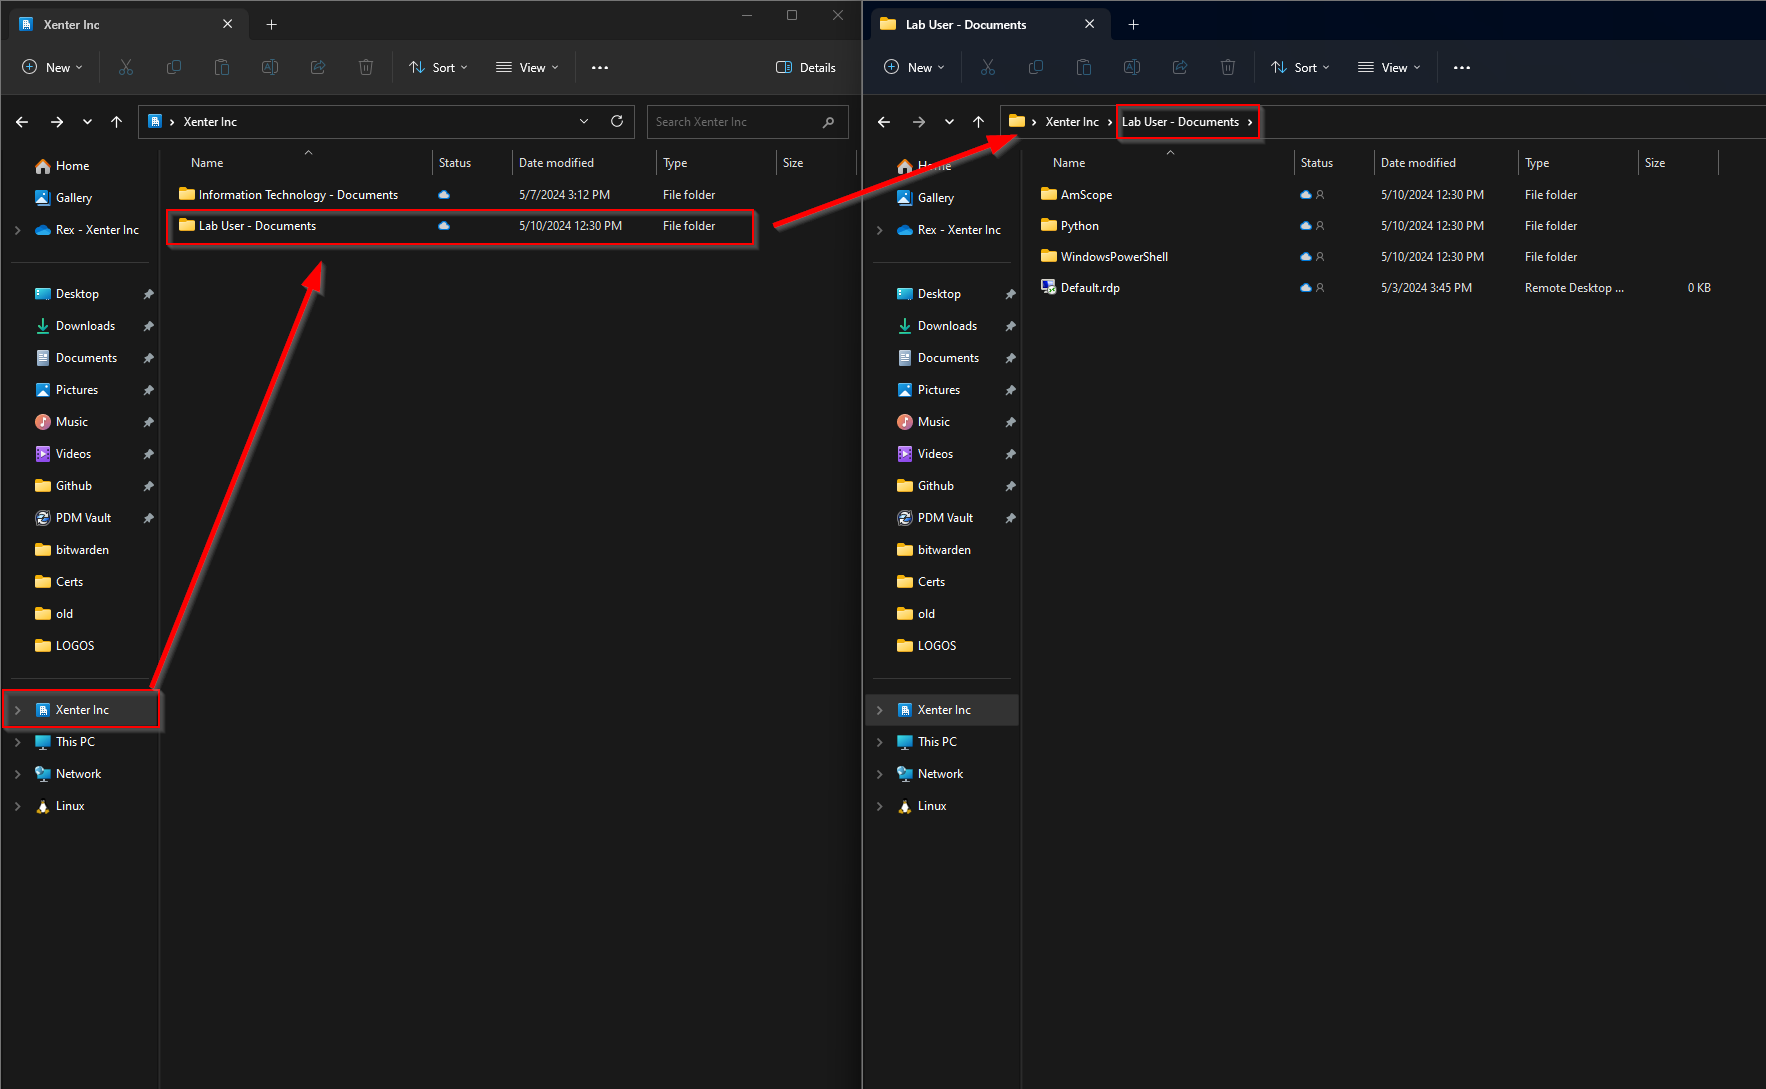
Everyone should be using the shared lab.user account to login. The lab user has a onedrive account thats automatically backing up everything in the Desktop, Documnets, and Pictures folders. All users should save their files and work in one of those three locations. If you need to access these files from your own computer, you can use the Sharepoint sync feature.
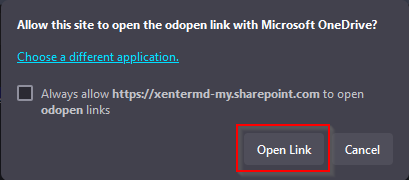
To set up the sync feature, go to this link in a web browser and click on sync.

You will likely see a message asking you to confirm that you want to open the link. Open the link to continue.
Now you will have a new section in your file explorer window to access the lab user’s documents folder from your own PC.